Deploy Free Figma Alternative Penpot With Docker
Deploy PenPot with Docker locally or remotely with Traefik and SSL to replace Figma as your Design Tool in Development
As we all probably heard Adobe is acquiring the popular design tool Figma for a whopping $20 billion. Unfortunately, this "strategy" of eliminating competition by acquiring businesses is common for big tech companies.
But, luckily, there is a free and open-source design tool that also does some things better. Also, it was inspired by Figma.
Penpot: Free & Open-Source Design Tool
Penpot is an open-source project that is actively developed and totally free to use for everyone.
Here are some major features that make Penpot interesting
- Free and open-source (of course).
- Option to Self-host (will be covered here primarily).
- Cross-platform.
- Using SVG as the native format.
- Web-based.
- Featuring industry-standard features (inspired by Figma).
Watch this official Penpot video to learn about the basics of Penpot:
A very important feature of Penpot is the use of SVG as their native format instead of PNG/JPG because it enables you to be compatible with many vector graphic editing tools.
This is especially useful because you will not get locked by being forced to use a proprietary file format that no other application can use.
Also, Penpot aims to use the absolute best of open standards that already exist. The CEO of Penpot, Pablo Ruiz-Múzquiz, mentions more about it:
If you go for SVG (open standard, web, mobile, etc) at the storage level, you can suddenly integrate all your Penpot designs with your code repos. You could make changes to the actual representation of the design itself thanks to SVG and not yet another closed format. That opens the door to massive opportunities for designers AND devs. Also, SVG means we are low-code ready for free. You can pick any element in Penpot and ask for its SVG (and CSS) representation knowing it's actually what it is, no translation. That brings a more trustworthy relationship between designers and devs and allows frontend devs to try out their design skillset.
As mentioned before a very important feature of Penpot is the ability to self-host it in a Docker container on your local machine and also on any server (that runs Docker). The following steps will show how easily you can use Docker to host your own Penpot to replace Figma as your design tool.
If you want to test Penpot before installing it as a self-hosted version you can go to https://design.penpot.app/ log in with GitHub/Gitlab/Google account or create n new account to test it. But I would avoid doing this and sharing your personal data because deploying it locally is done super fast (if you already have Docker installed)
Deploy Penpot locally with Docker
Install Docker
To deploy Penpot locally (or remotely) you need to have Docker installed. To install Docker on your system follow the official tutorial on docker.com. If you are using Windows and aren't allowed to install Docker Desktop you can follow this guide:

Deploy Penpot
If Docker is installed it is very easy to start up a Penpot instance locally. To do this you can simply retrieve the latest Compose and config file from the official Penpot Github project by download them:
wget https://raw.githubusercontent.com/penpot/penpot/main/docker/images/docker-compose.yaml
wget https://raw.githubusercontent.com/penpot/penpot/main/docker/images/config.env
The config file from the GitHub project is quite big and contains several variables that you will never use working locally with Penpot. It would be sufficient to use the following config as it only contains mandatory values:
# Standard database connection parameters (only postgresql is supported):
PENPOT_DATABASE_URI=postgresql://penpot-postgres/penpot
PENPOT_DATABASE_USERNAME=penpot
PENPOT_DATABASE_PASSWORD=penpot

# Redis is used for the websockets notifications.
PENPOT_REDIS_URI=redis://penpot-redis/0

ASSETS_STORAGE_BACKEND=assets-fs
PENPOT_STORAGE_ASSETS_FS_DIRECTORY=/opt/data/assets

PENPOT_TELEMETRY_ENABLED=false

# Enable or disable external user registration process.
PENPOT_REGISTRATION_ENABLED=false
Now that you downloaded (or created) both files switch to the folder and start the Docker service with:
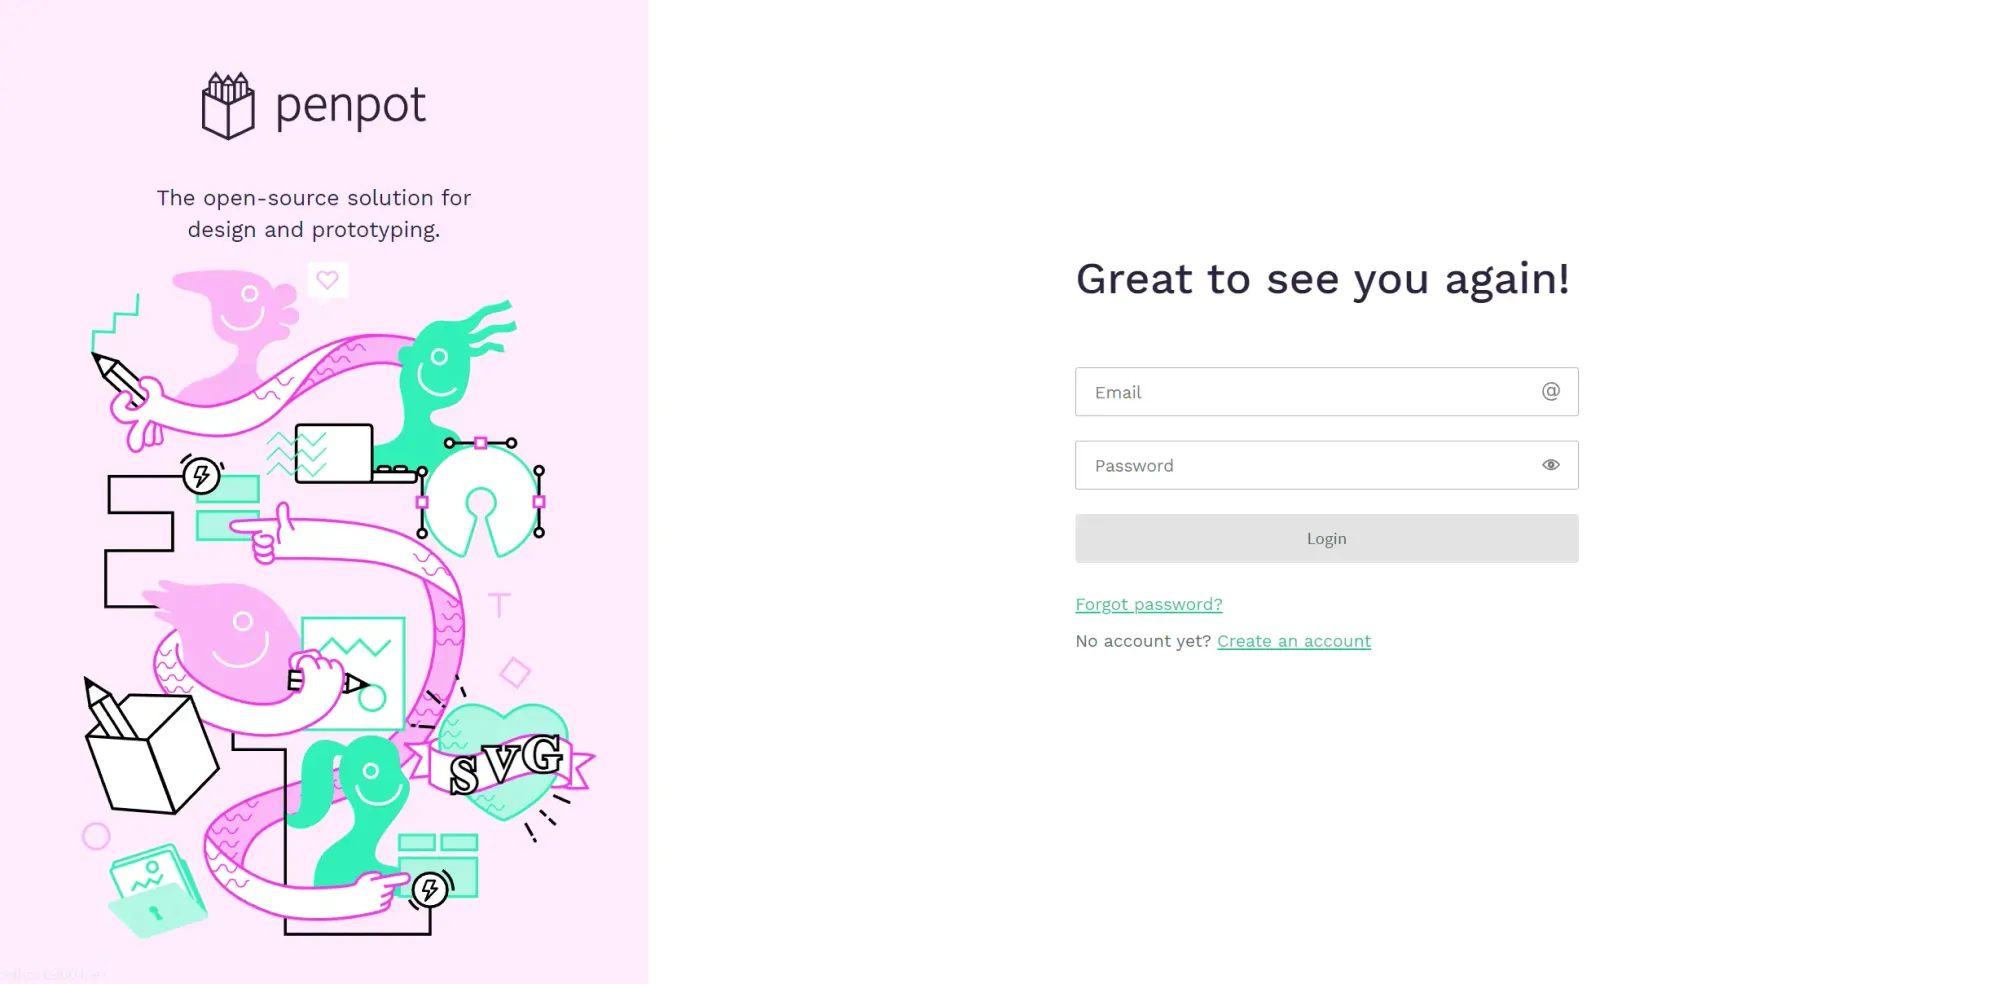
docker-compose -p penpot up -dIf the process finishes you can open http://localhost:9001 and will see the following screen if Penpot was installed correctly:

Create a Penpot user
Although you deployed Penpot on your local machine you cannot create a user using the Web interface because you started Penpot without configuring an SMTP account to receive registration emails. However, this is no problem because you can simply use this Docker command to manually create an already-activated user:
docker exec -it penpot-penpot-backend-1 ./manage.sh create-profileIMPORTANT: Check if penpot-penpot-backend-1 is the correct name of your backend container. You can do this by executing docker ps.
After executing the command you could get the following output which is confusing:
[2022-10-06 10:18:13.523] I app.config - hint="flags initialized", flags="backend-api-doc,secure-session-cookies,login,backend-worker,registration"
[2022-10-06 10:18:14.295] I app.metrics - action="initialize metrics"
Email:  [2022-10-06 10:18:14.334] I app.db - hint="initialize connection pool", name="main", uri="postgresql://penpot-postgres/penpot", read-only=false, with-credentials=true, min-size=0, max-size
=30
Ignore everything and just type an email that you want to use in your local installation, then set your name and password. The resulting log will look like this:
[2022-10-06 10:22:33.900] I app.config - hint="flags initialized", flags="backend-api-doc,secure-session-cookies,login,backend-worker,registration"
[2022-10-06 10:22:34.636] I app.metrics - action="initialize metrics"
Email:  [2022-10-06 10:22:34.675] I app.db - hint="initialize connection pool", name="main", uri="postgresql://penpot-postgres/penpot", read-only=false, with-credentials=true, min-size=0, max-size
=30
user@local.de
Full Name:  Paul Knulst
Password:
User created successfully.
After your user was created you can log in to your Penpot installation at http://localhost:9001/ and start using Penpot.
Deploy Penpot remotely with Docker and Traefik
Having a running installation of Penpot locally is very useful if you are the only person working with it. Normally, you will work in teams where multiple designers, developers, or others collaborate together on different designs. To allow doing this with Penpot you can deploy Penpot on any server using Docker and Traefik.
Installing Traefik
To install Traefik on your server and use it to forward URLs to Docker service and automatically assign SSL certificates you can follow this guide:

Keep in mind that you need at least one URL that points to the server where your Traefik instance will run. If you do not have any URL you have to buy one and map it to your server.
Updating Config
Deploying Penpot on a server with a specific URL where multiple users can work together needs some changes to the prior shown config file because the registration process should be enabled. Therefore, you have to add an email account that will be used by Penpot to send registration emails. A simple Google/GMX/Apple Mail account will be sufficient.
Change the PENPOT_REGISTRATION_ENABLED environment variable to true and add the following variables (with correct values) to the config file:
PENPOT_REGISTRATION_DOMAIN_WHITELIST=""

#Your public penpot url
PENPOT_PUBLIC_URI=

# Enable Email
PENPOT_SMTP_ENABLED=true
PENPOT_SMTP_DEFAULT_FROM=
PENPOT_SMTP_DEFAULT_REPLY_TO=
PENPOT_SMTP_HOST=
PENPOT_SMTP_PORT=
PENPOT_SMTP_USERNAME=
PENPOT_SMTP_PASSWORD=
PENPOT_SMTP_TLS=
PENPOT_SMTP_SSL=
An important setting here is PENPOT_REGISTRATION_DOMAIN_WHITELIST="" where you can add a comma-separated list of allowed email domains to register. If you leave it empty every domain is allowed. Find the full config in this gist on Github.
Adjust Compose file for Traefik usage
After updating the config file you need to update the Compose file and add the Traefik network and the labels for Traefik to automatically generate an SSL certificate after deploying Penpot. Copy the content of the following Compose file into yours:
version: "3.5"

networks:
  default:
    external: false
  traefik-public:
    external: true

volumes:
  postgres_data:
  assets_data:

services:
  frontend:
    image: "penpotapp/frontend:latest"
    hostname: frontend.penpot
    volumes:
      - assets_data:/opt/data
    env_file:
      - config.env
    depends_on:
      - penpot-backend
      - penpot-exporter
    networks:
      - default
      - traefik-public
    labels:
      - traefik.enable=true
      - traefik.docker.network=traefik-public
      - traefik.constraint-label=traefik-public
      - traefik.http.routers.penpot-http.rule=Host(`${PENPOT_URL}`)
      - traefik.http.routers.penpot-http.entrypoints=http
      - traefik.http.routers.penpot-http.middlewares=https-redirect
      - traefik.http.routers.penpot-https.rule=Host(`${PENPOT_URL}`)
      - traefik.http.routers.penpot-https.entrypoints=https
      - traefik.http.routers.penpot-https.tls=true
      - traefik.http.routers.penpot-https.tls.certresolver=le
      - traefik.http.services.penpot.loadbalancer.server.port=80
  backend:
    image: "penpotapp/backend:latest"
    hostname: backend.penpot
    volumes:
      - assets_data:/opt/data
    depends_on:
      - postgres
      - redis
    env_file:
      - config.env
    networks:
      - default

  exporter:
    image: "penpotapp/exporter:latest"
    environment:
      # Don't touch it; this uses internal docker network to
      # communicate with the frontend.
      - PENPOT_PUBLIC_URI=http://frontend.penpot
    networks:
      - default

  postgres:
    image: "postgres:13"
    restart: always
    stop_signal: SIGINT
    environment:
      - POSTGRES_INITDB_ARGS=--data-checksums
      - POSTGRES_DB=penpot
      - POSTGRES_USER=penpot
      - POSTGRES_PASSWORD=penpot
    volumes:
      - postgres_data:/var/lib/postgresql/data
    networks:
      - default

  redis:
    image: redis:6
    restart: always
    networks:
      - default
Deploy Penpot
Before you finally can deploy the Docker service and use Penpot with your coworkers/friends you have to set your URL. This has to be the same URL that you used in the config (without HTTPS). Also, the URL has to point to your server!
export PENPOT_URL=your-website.comNow, switch to your folder and deploy your Penpot service:
docker-compose up -dSwitch to your URL and register a new user. You should get an email from Penpot and can use it with your coworkers.
Keep in mind that you still can deactivate registration by setting the appropriate environment variable within the config and redeploying the server. If you do this you can create new users by executing the following command and manually set username/password:
docker exec -it penpot-penpot-backend-1 ./manage.sh create-profileWith this approach, you will not need an email account and still be able to work with others.
Closing Notes
Congratulations if you followed my approach you have just installed Penpot as your own Figma replacement on either your local machine or on a server to use with collaborators.
The full Compose file (and config) for remote deployment can be found within the GitHub Gist I created for this article.
This is the end of this tutorial. Hopefully, you are now able to set up your personal installation. If you still have questions about setting up Penpot as a replacement for Figma you can just ask in the comment section. Also, if you enjoyed reading this article consider commenting with your valuable thoughts! I would love to hear your feedback about my tutorial or Penpot in general.
Furthermore, share this article with fellow designers to help them to replace Figma with Penpot.
Feel free to connect with me on Medium, LinkedIn, Twitter, and GitHub.
🙌 Support this content
If you like this content, please consider supporting me. You can share it on social media, buy me a coffee, or become a paid member. Any support helps.
See the contribute page for all (free or paid) ways to say thank you!
Thanks! 🥰


